
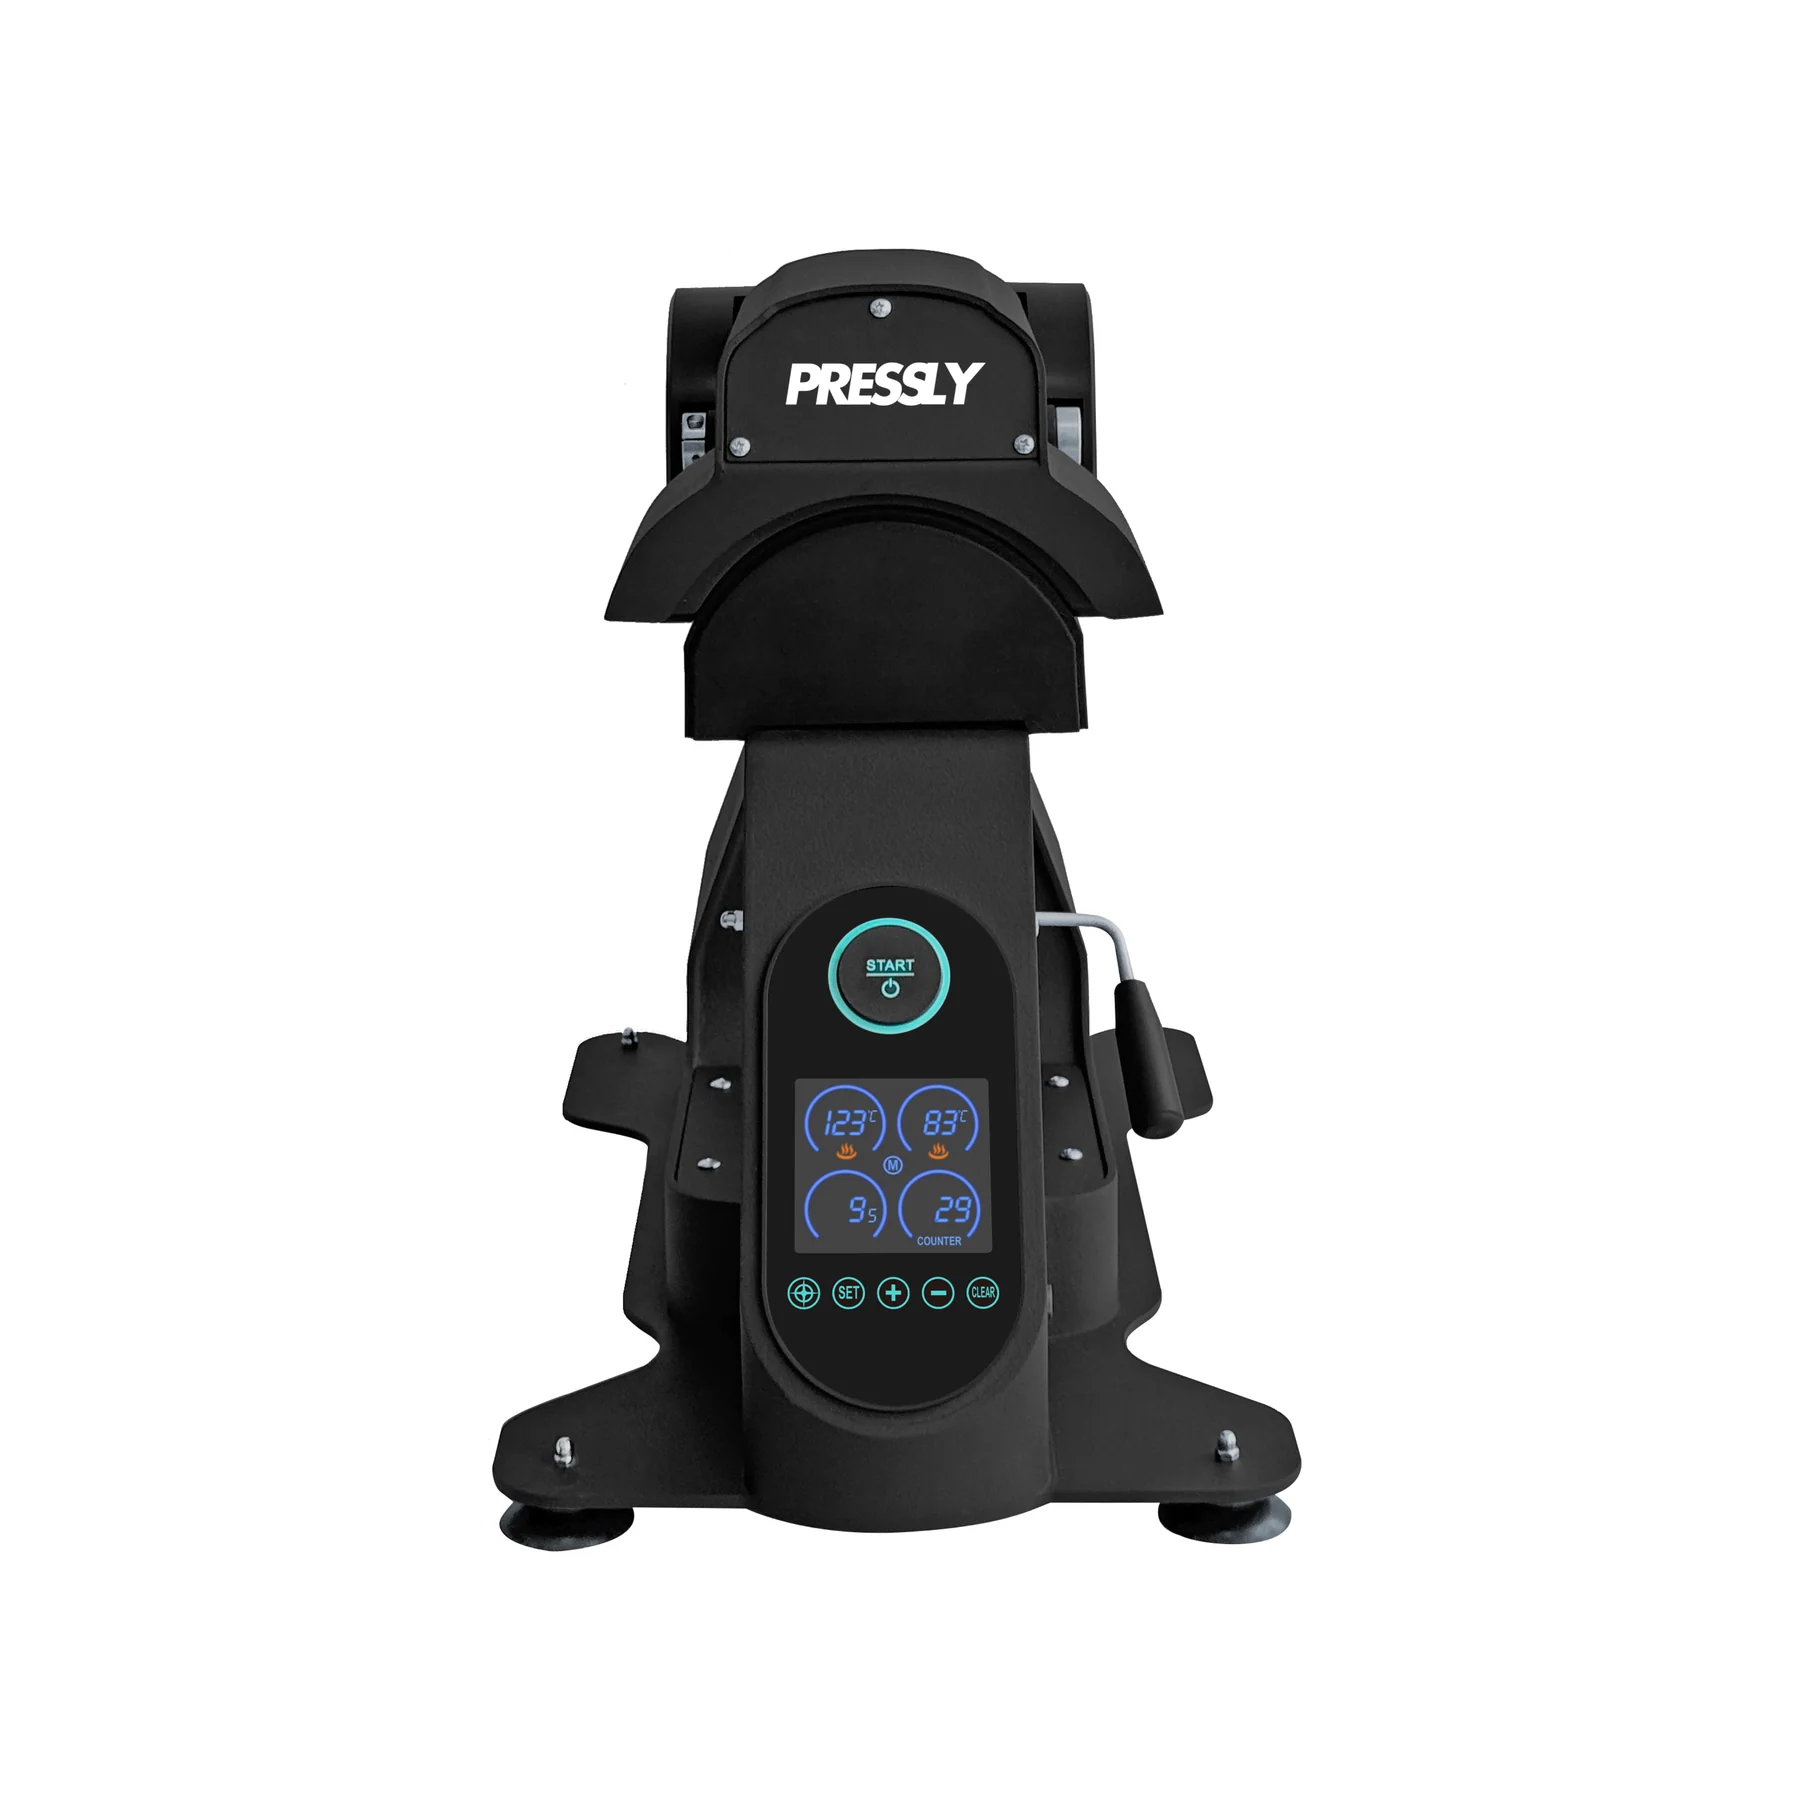
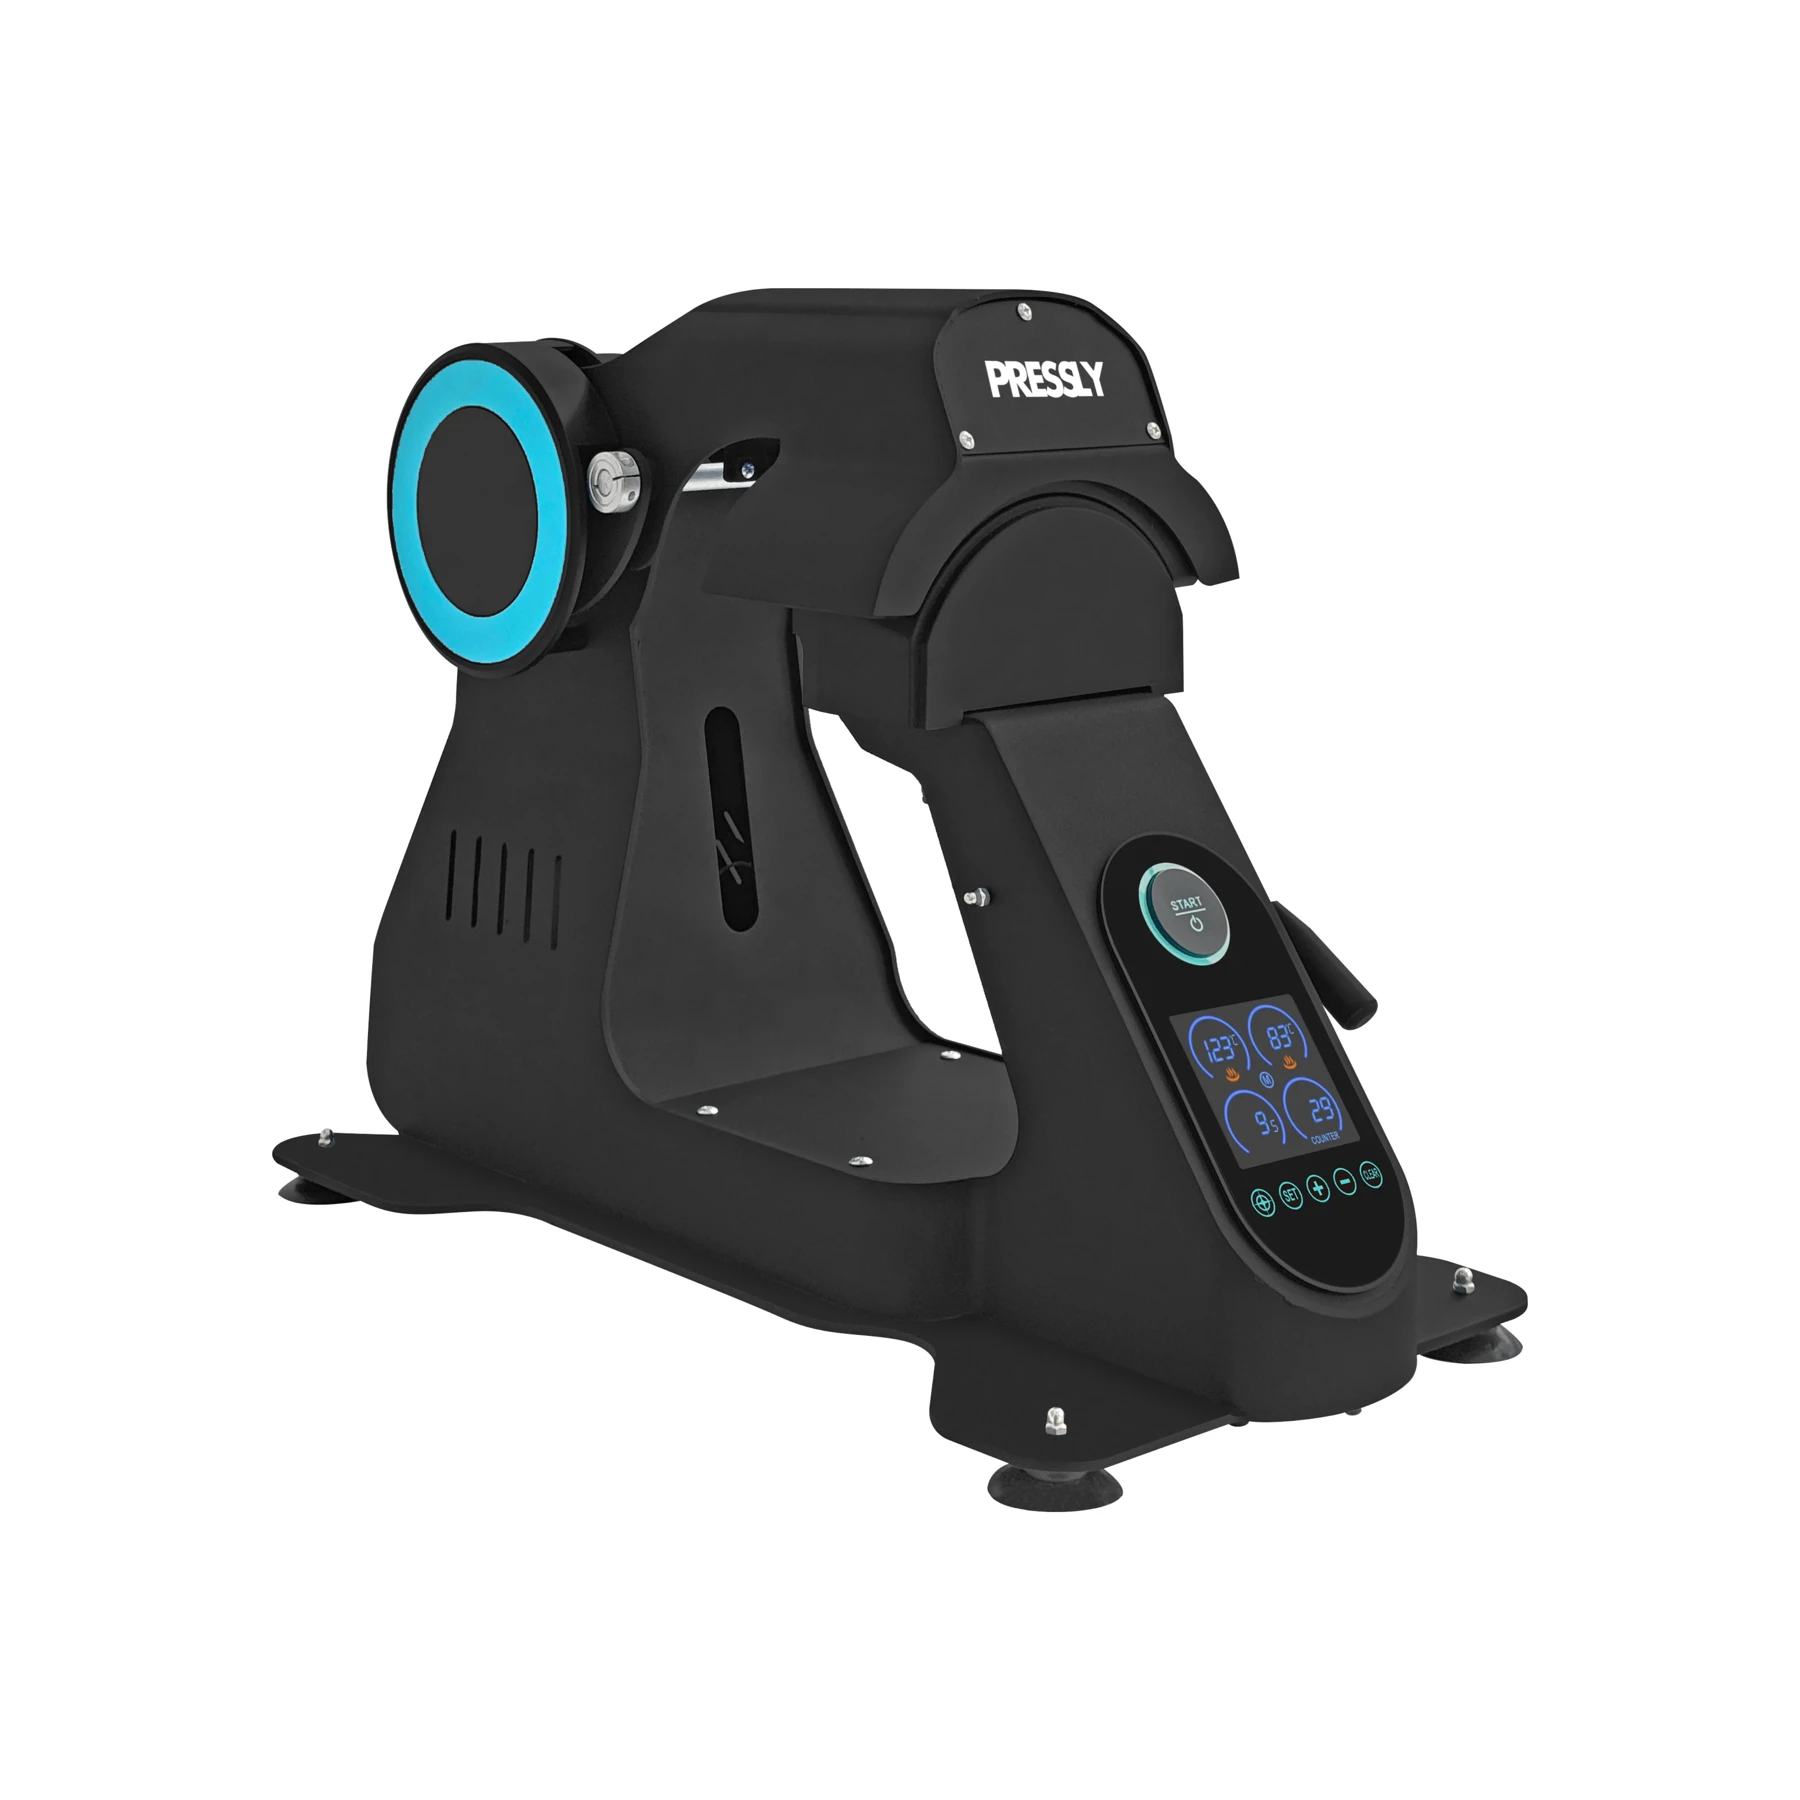
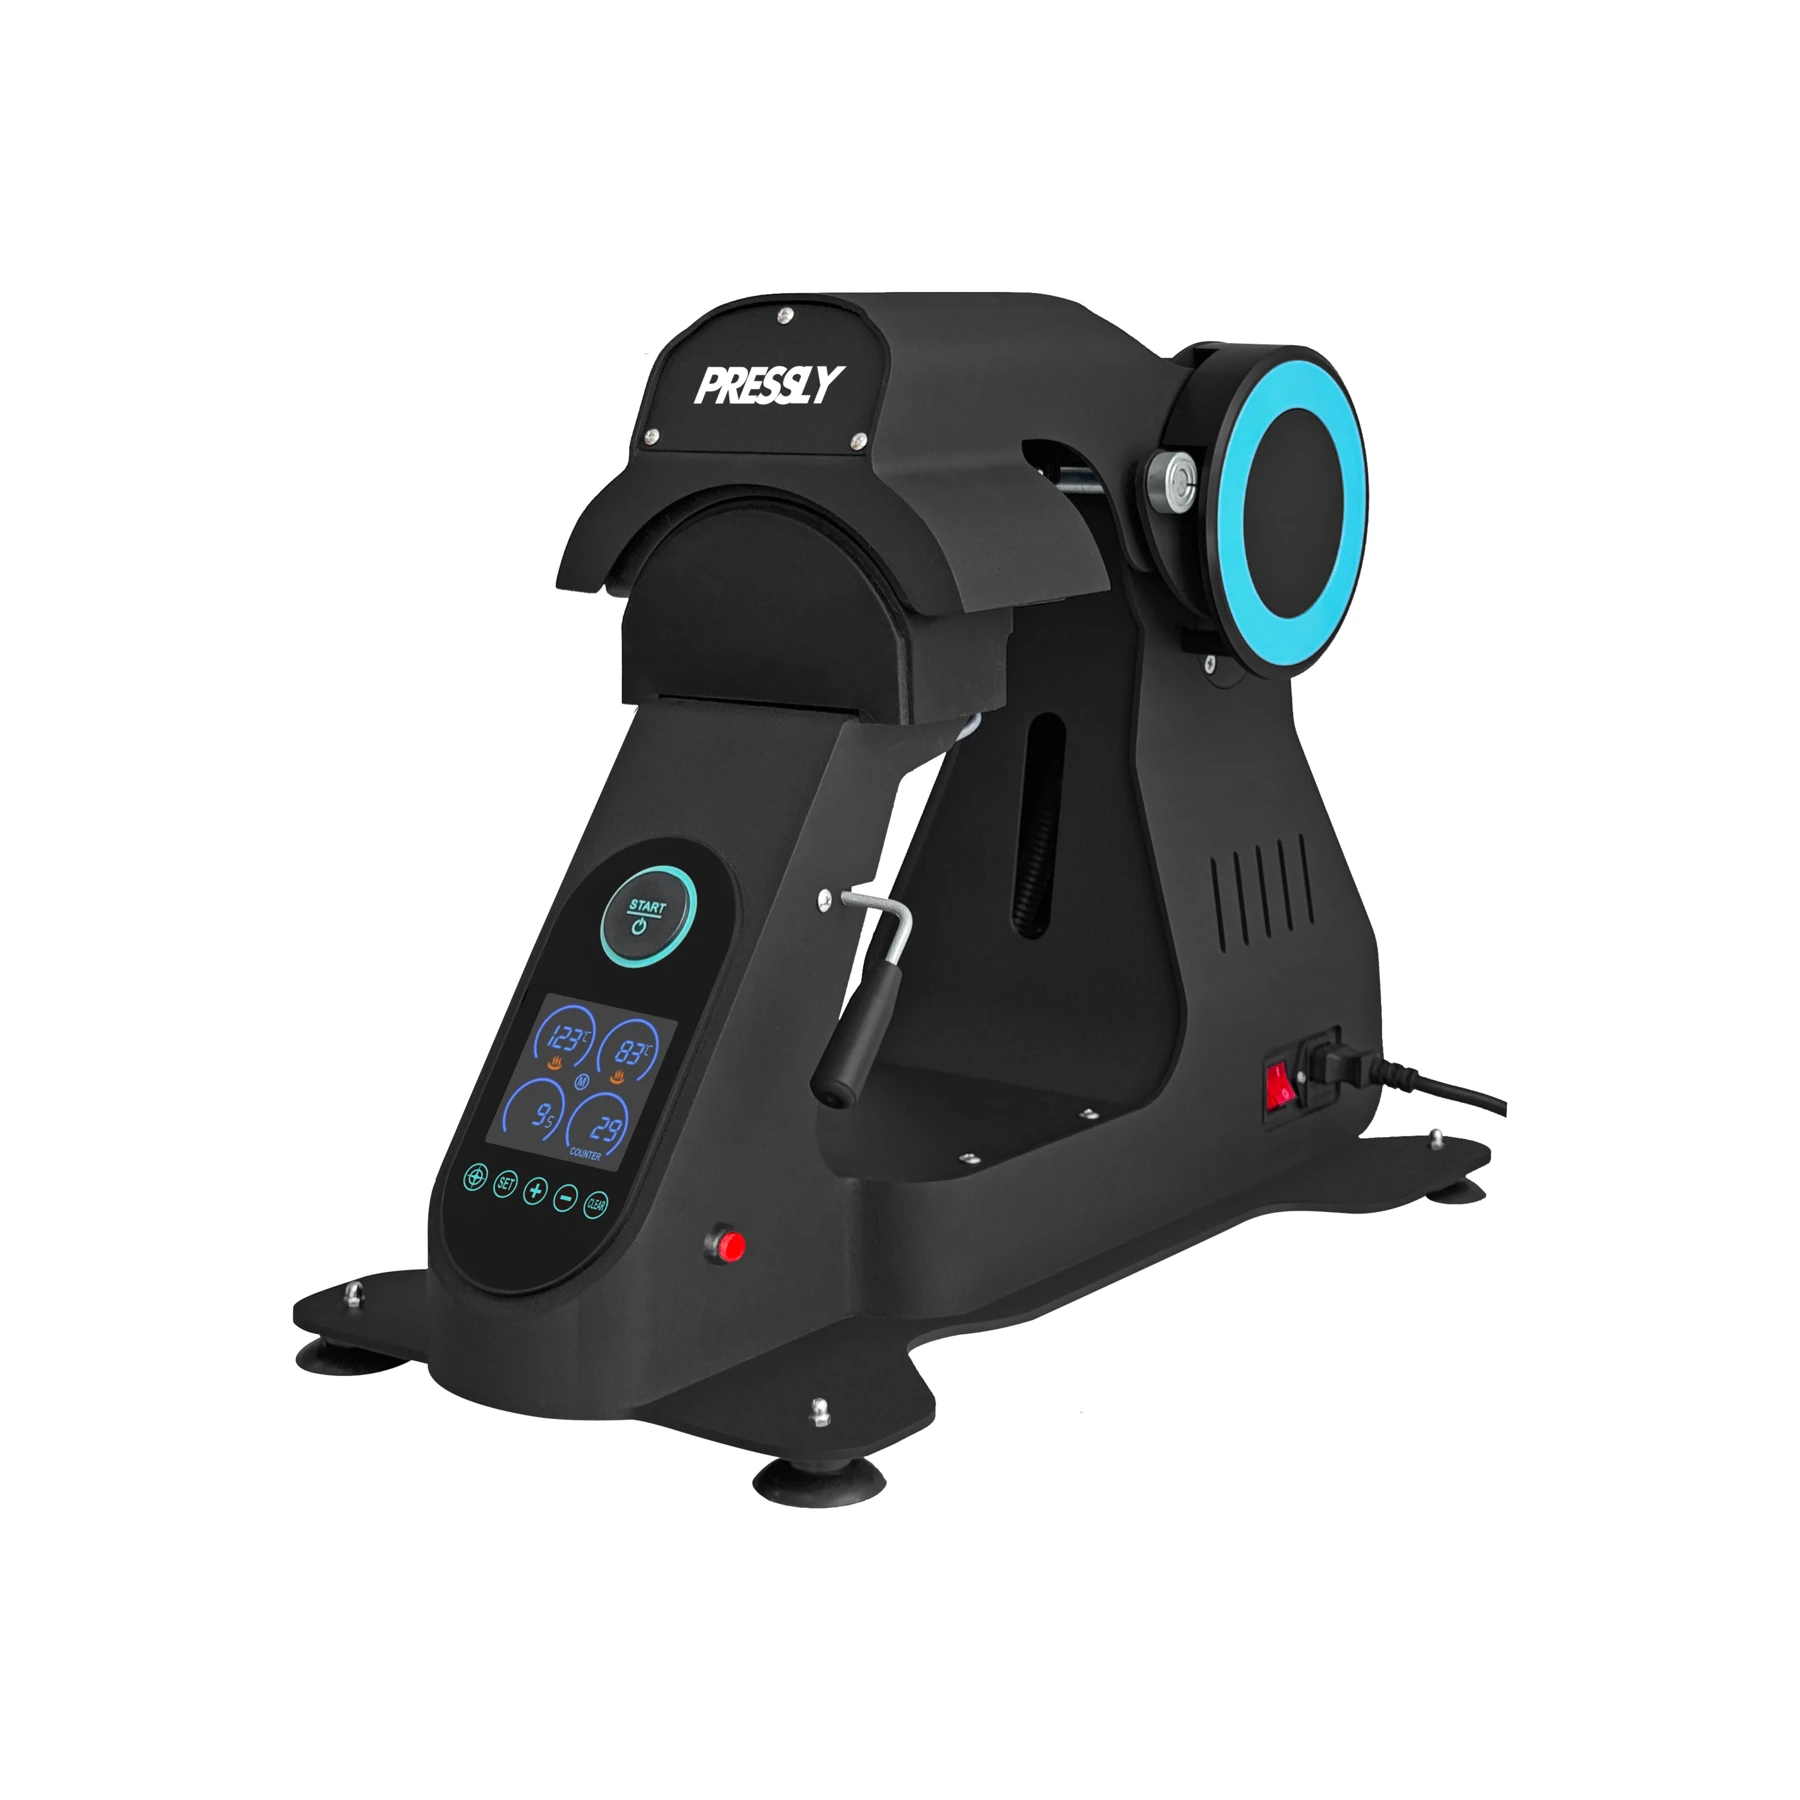
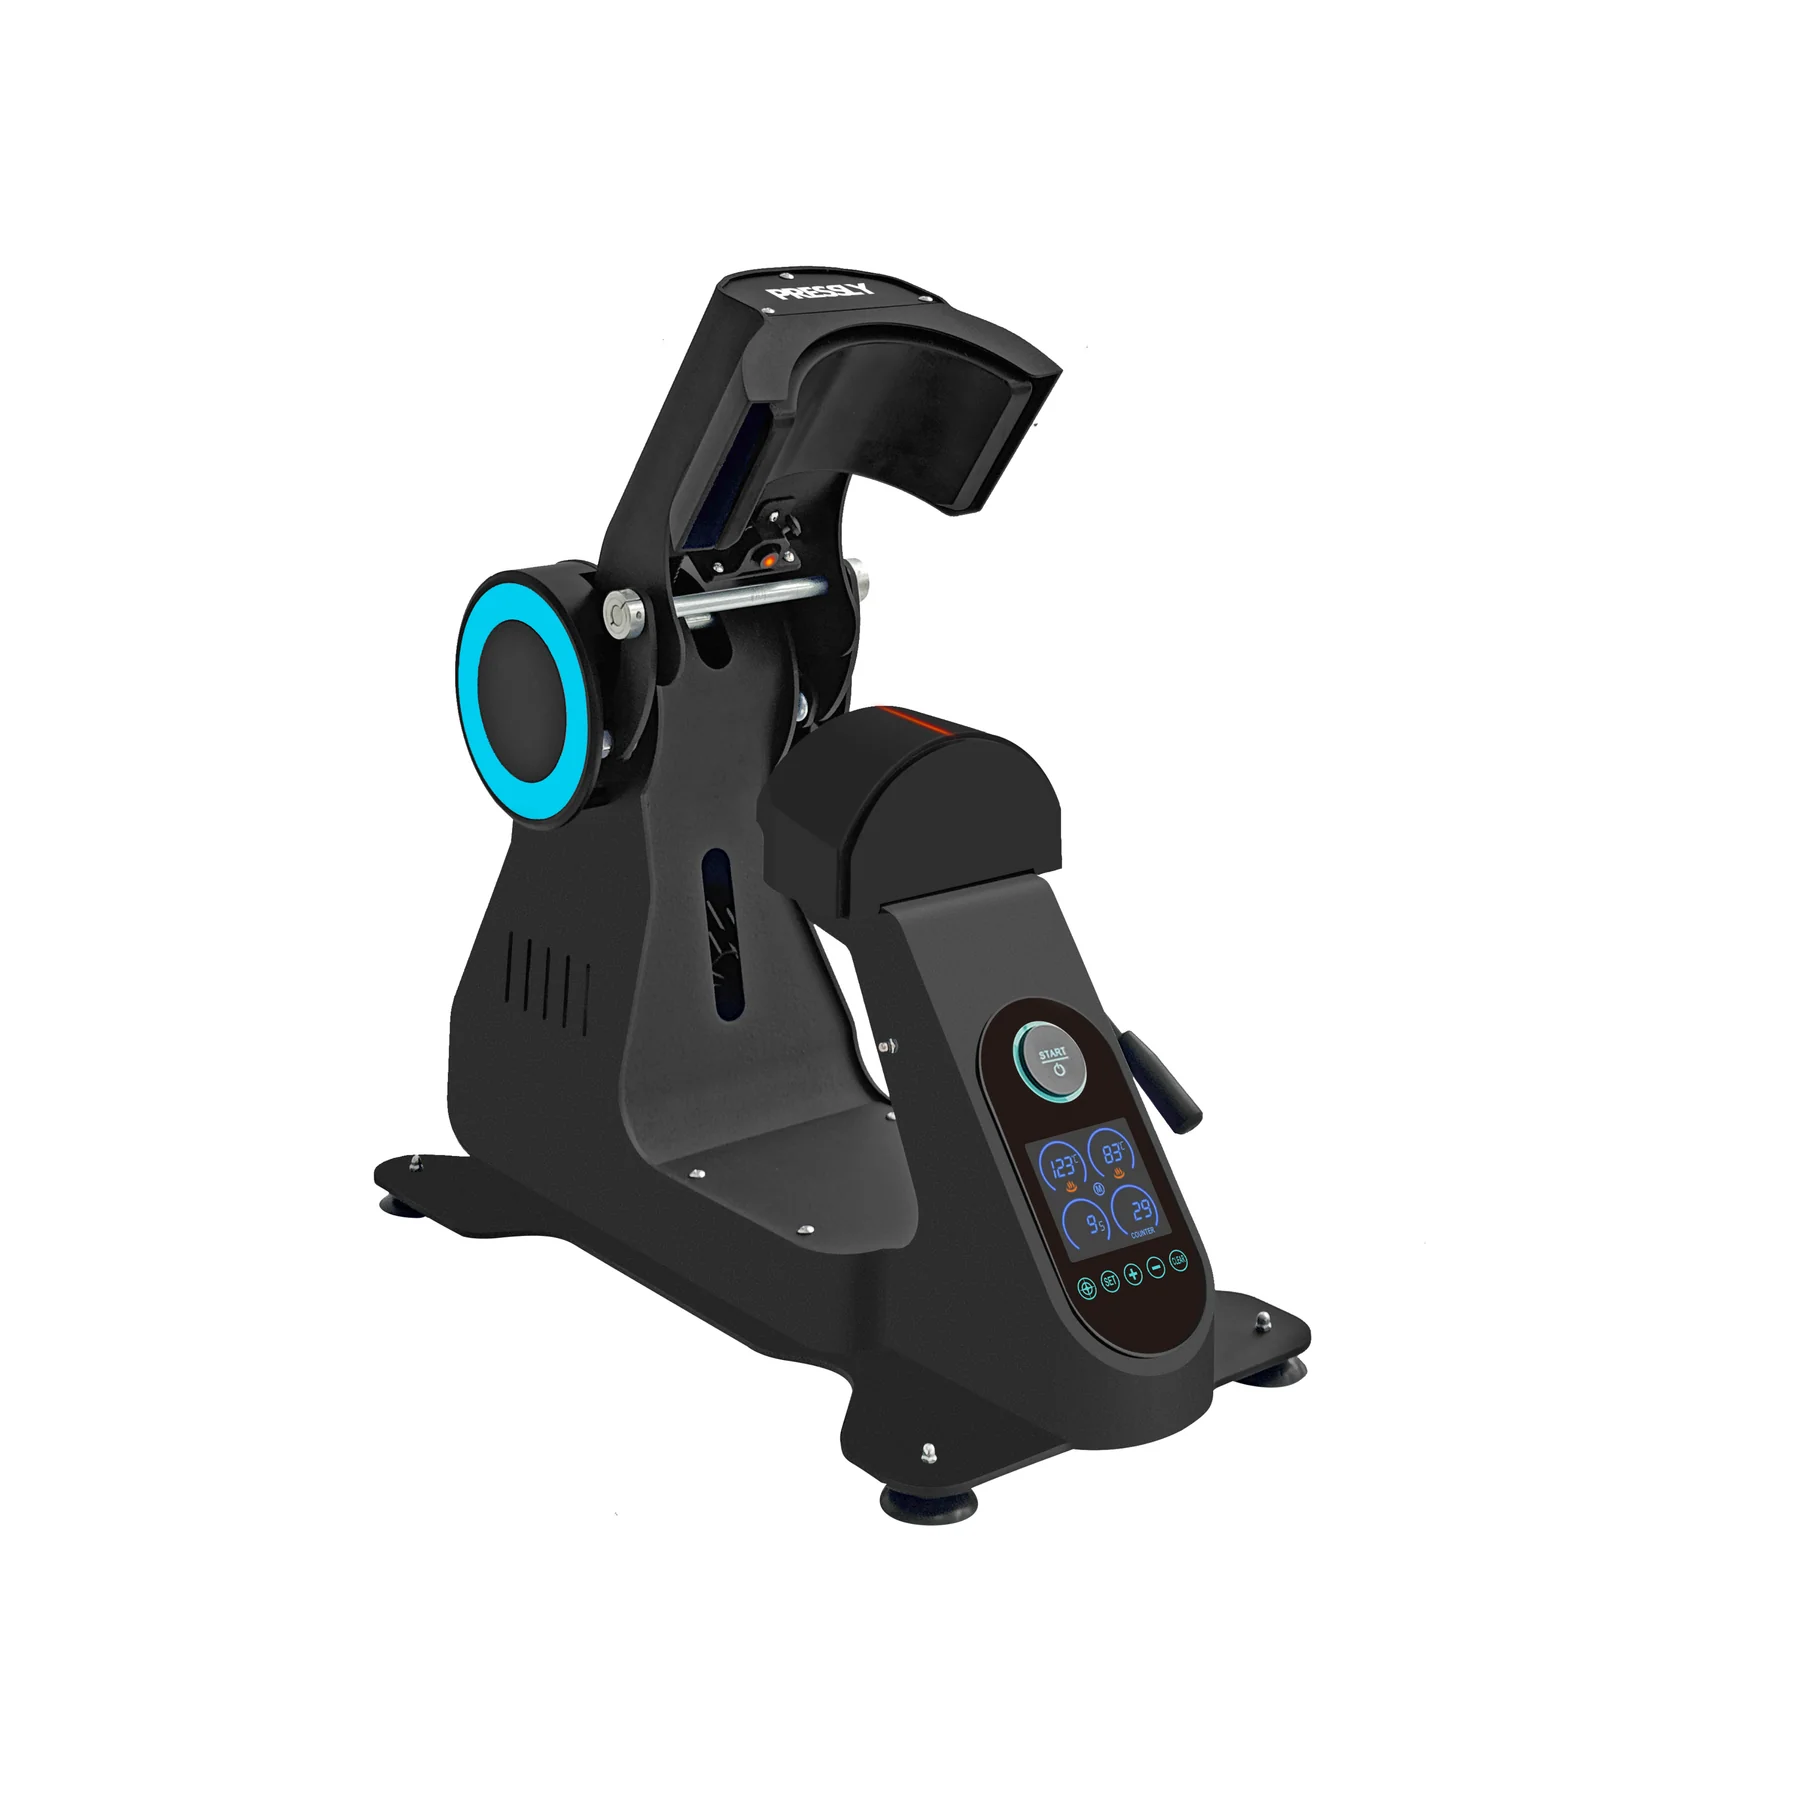
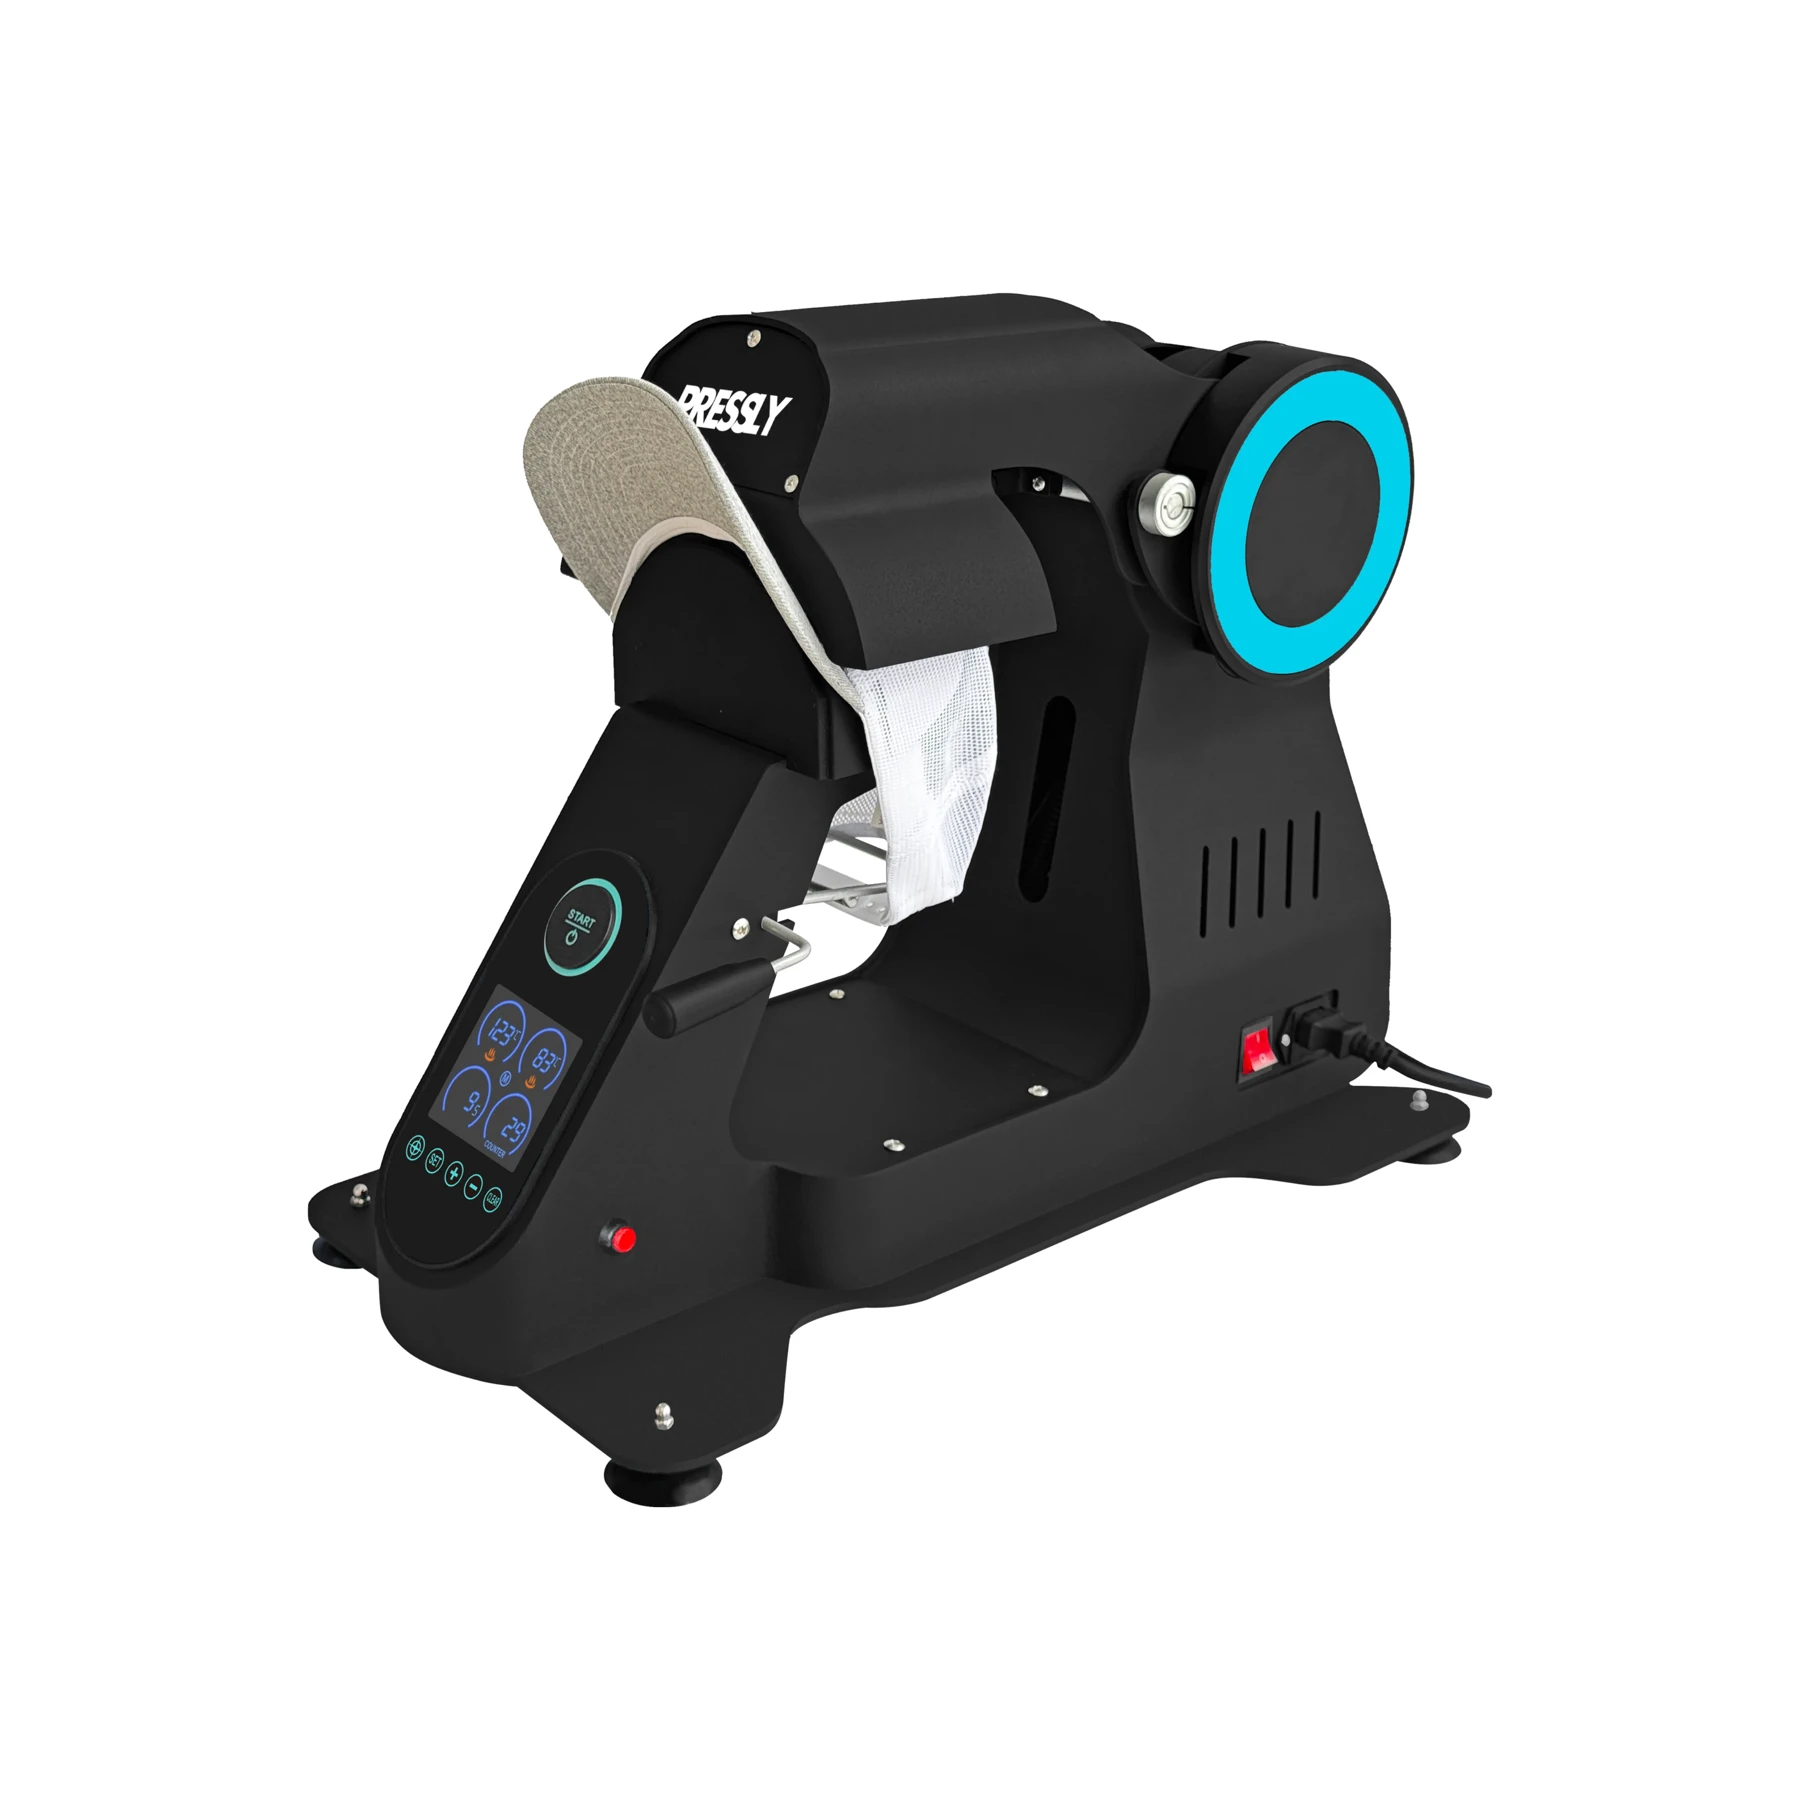
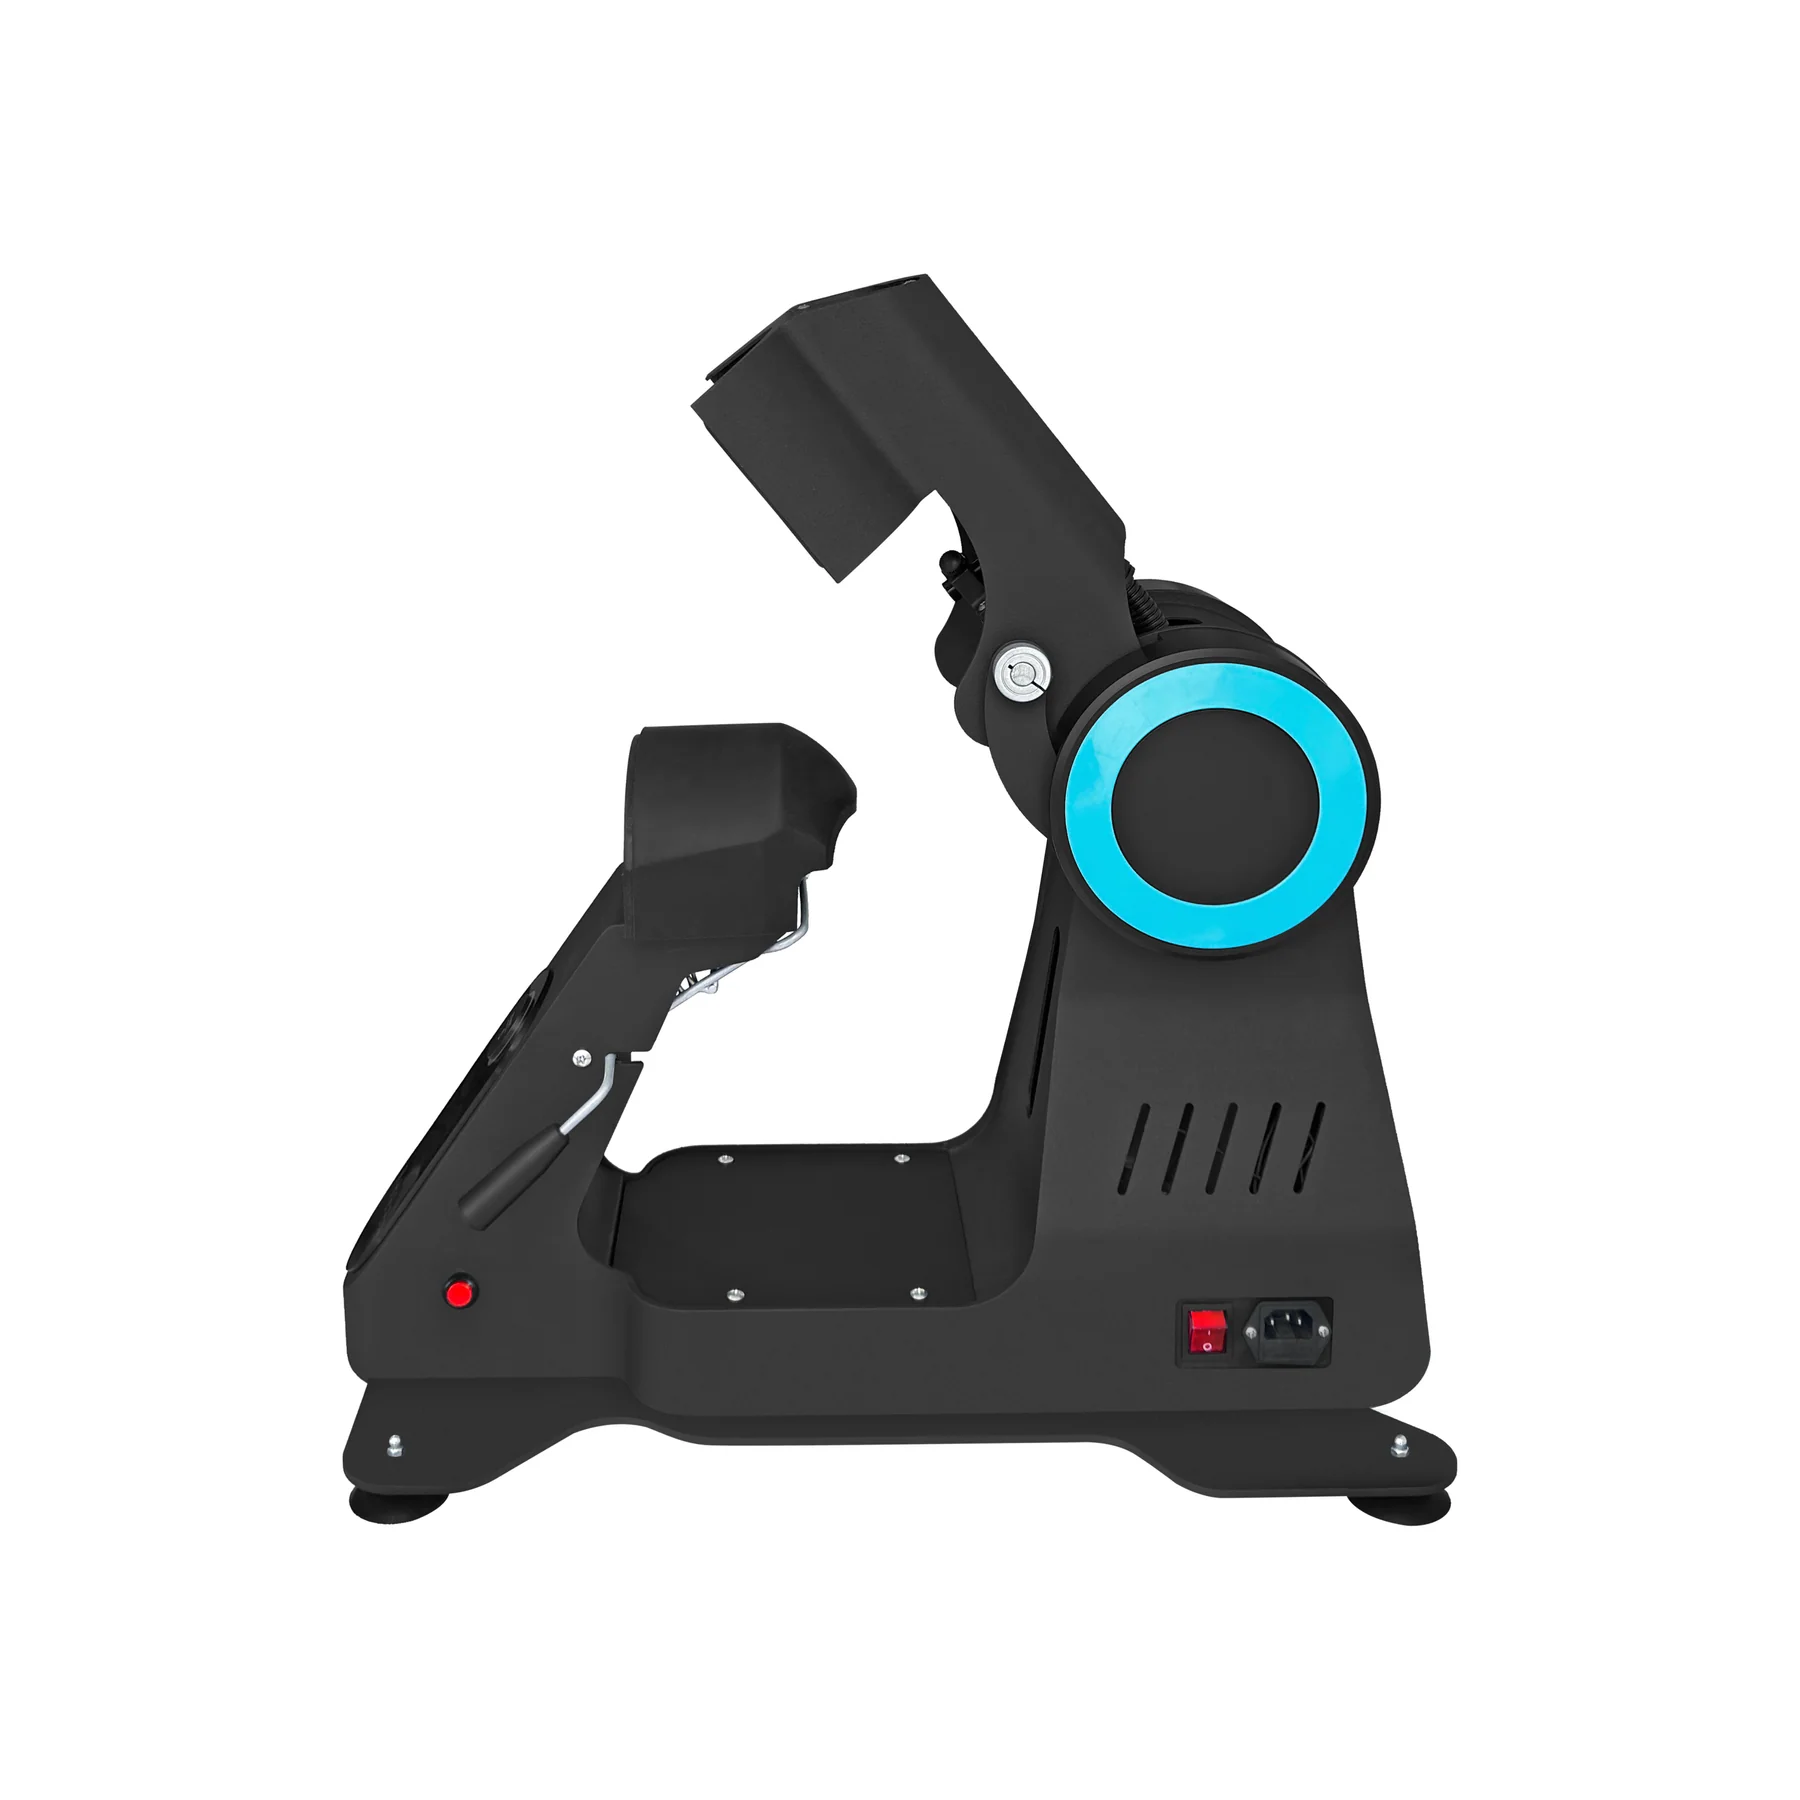
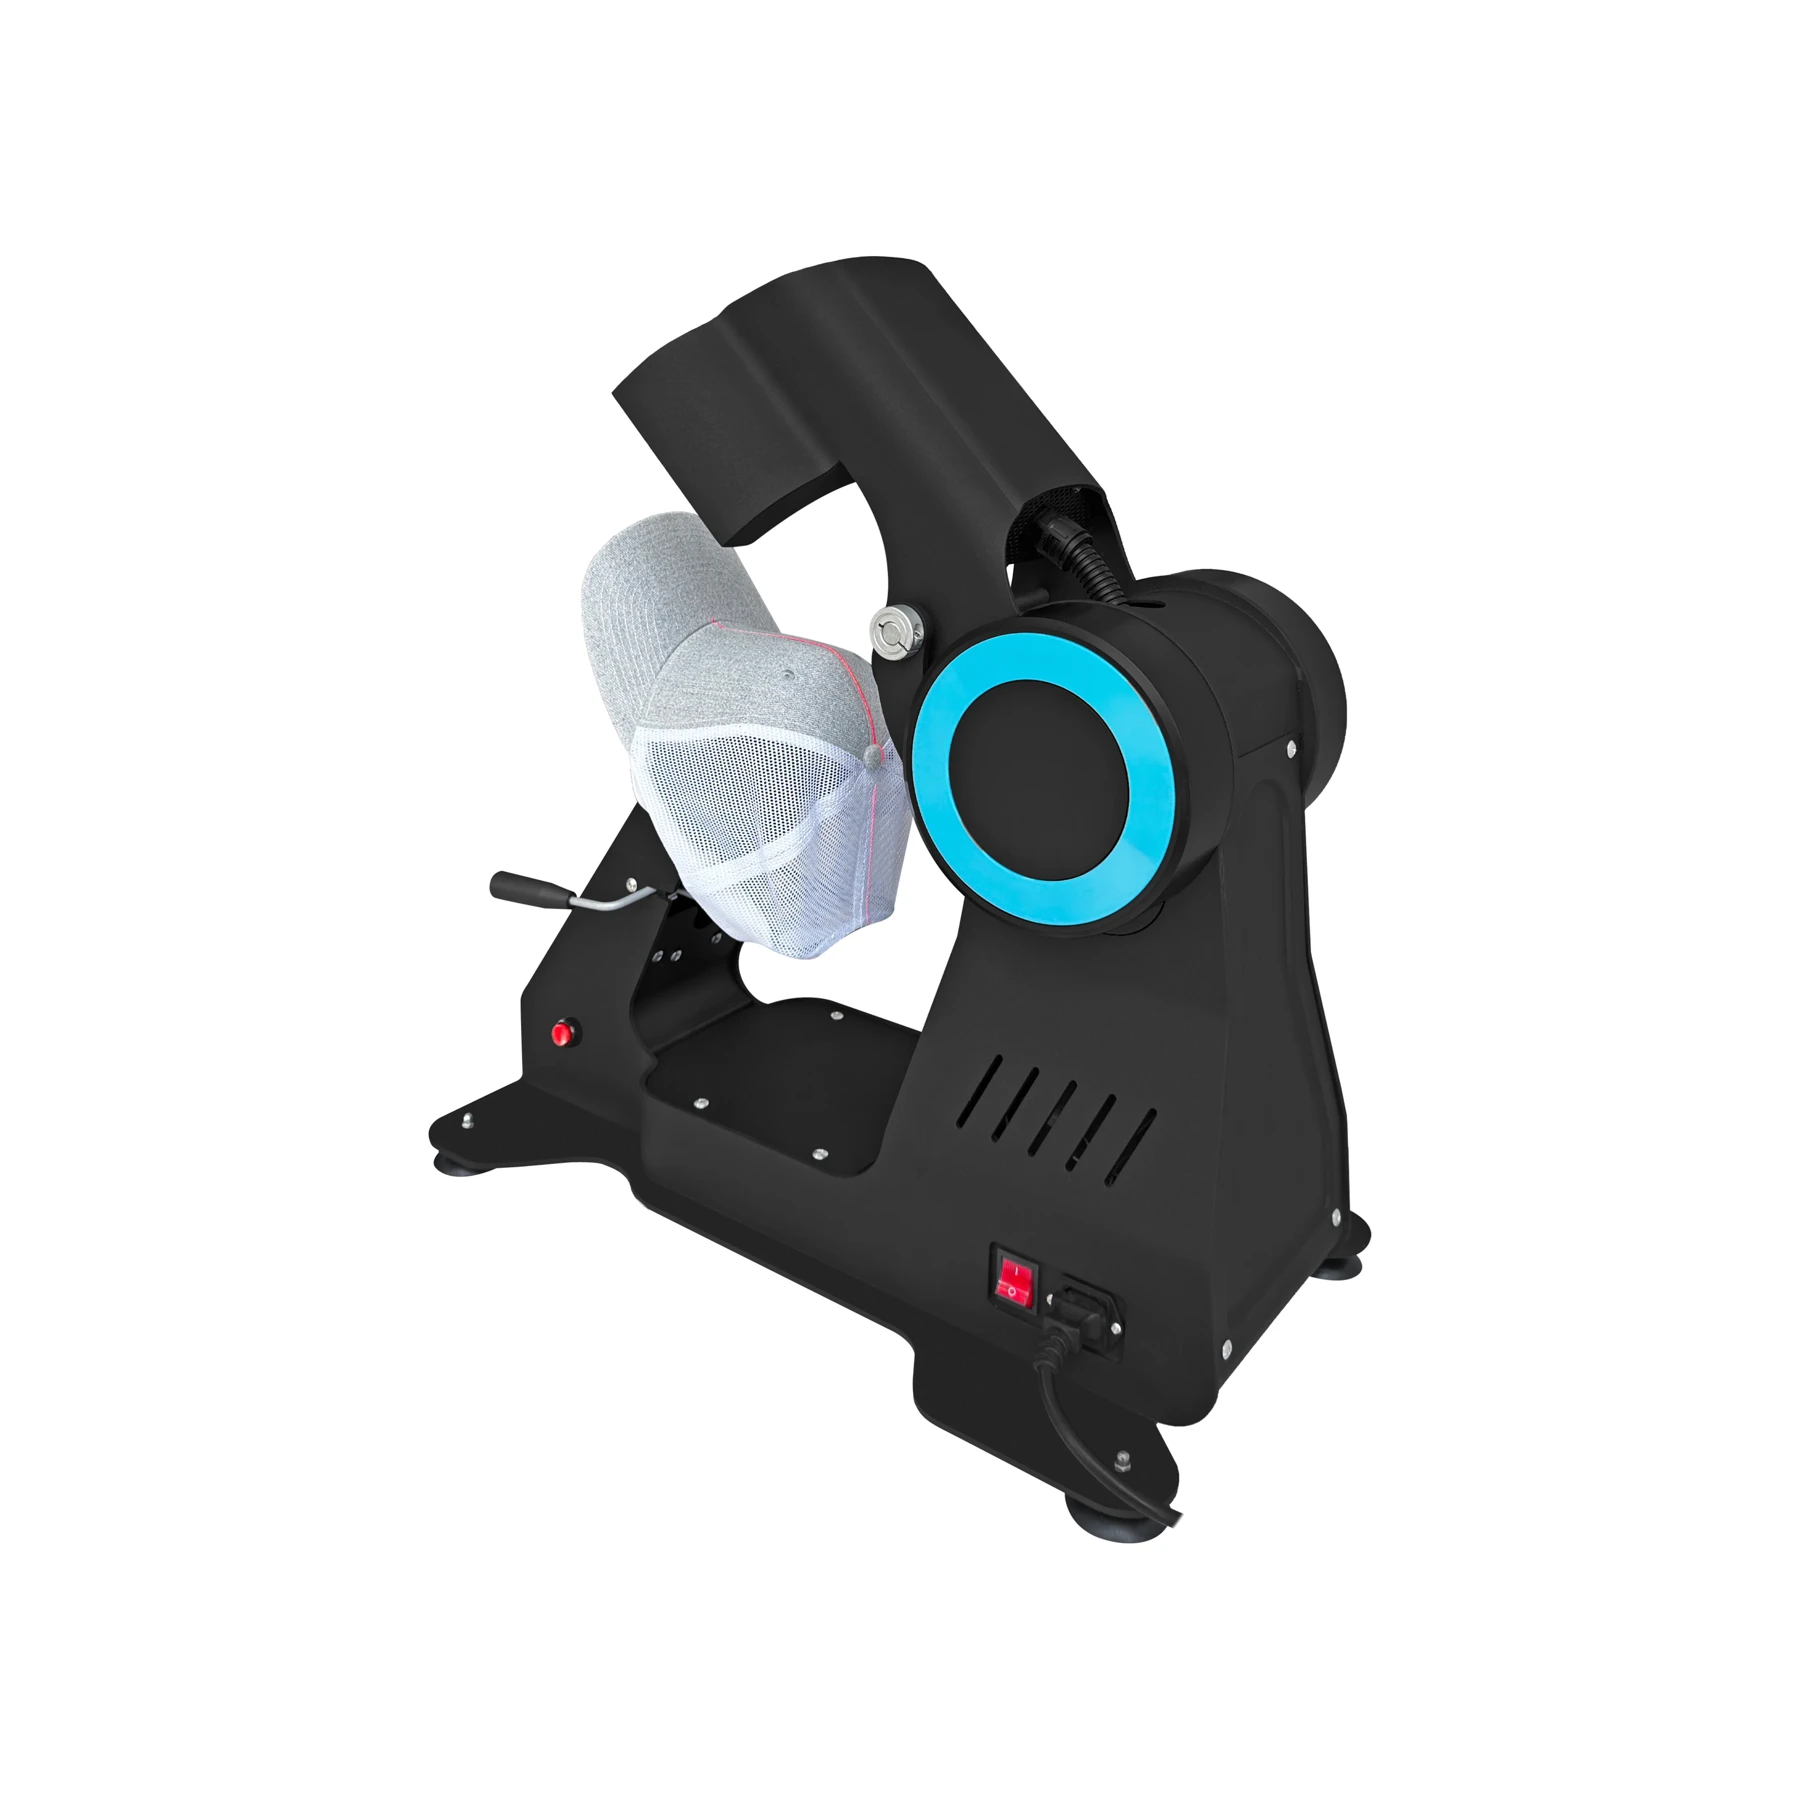
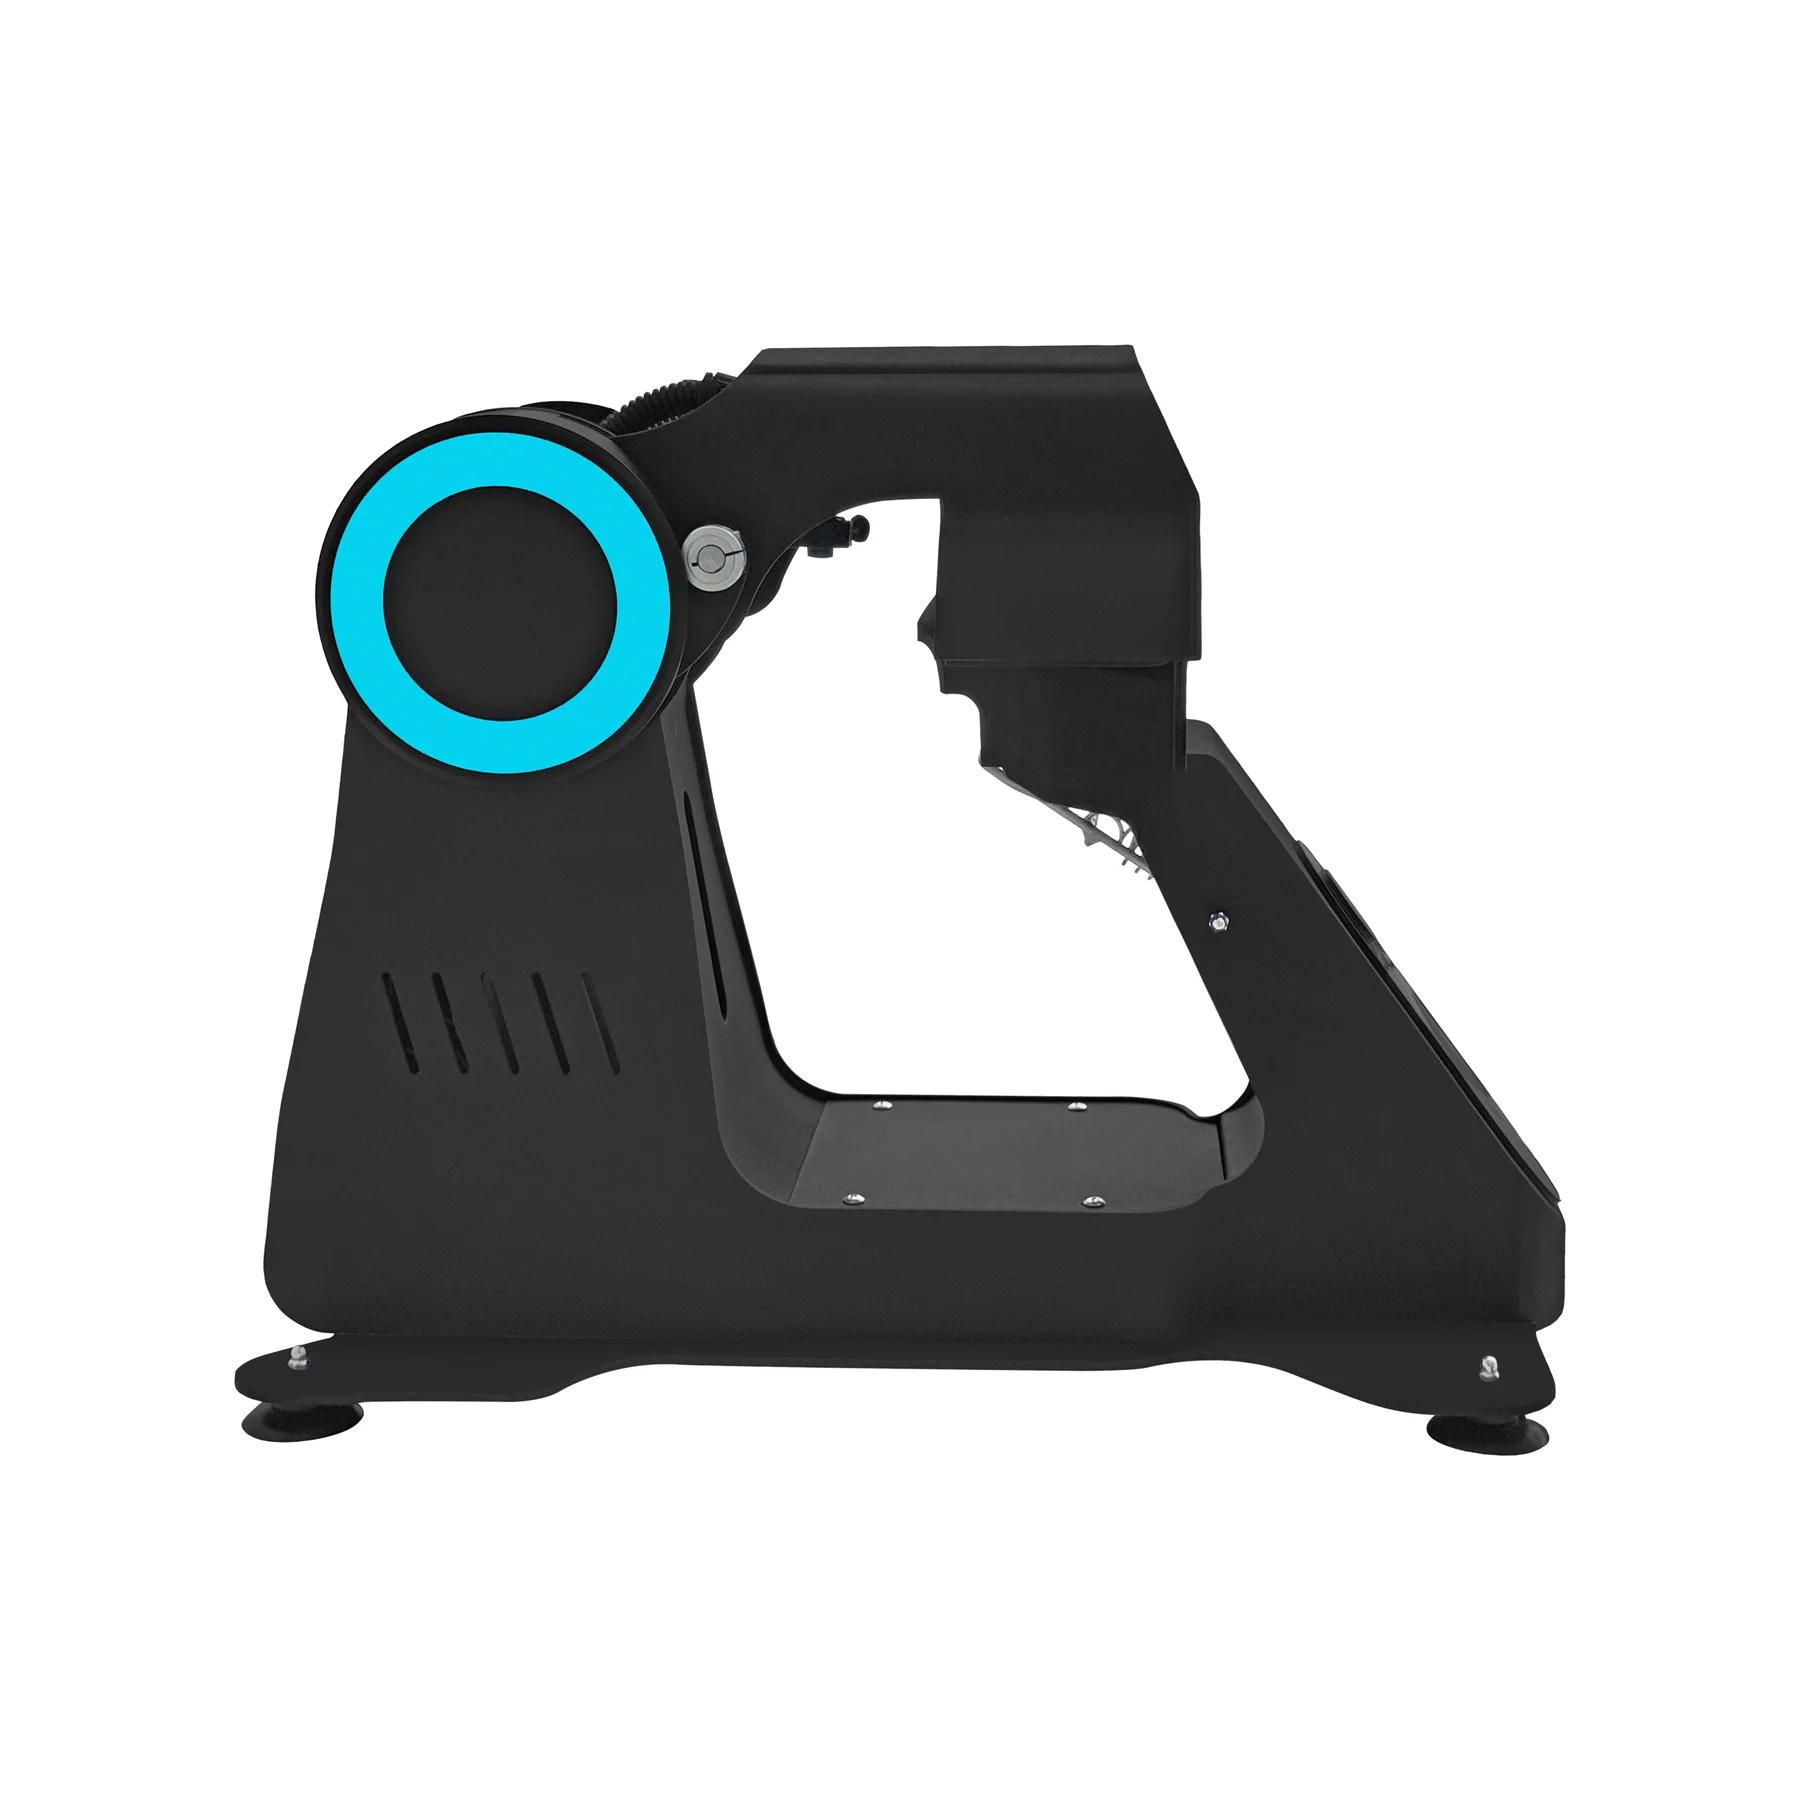
Features
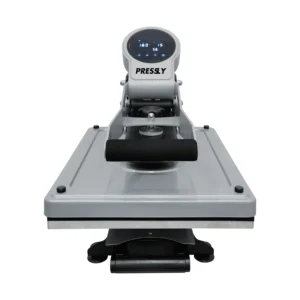
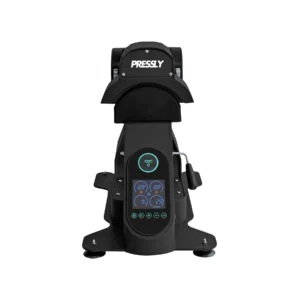
Cap & Hat Heat Press Machine Automatic Dual-Heat – CapMaster 2815 is available from YOUVSKEY. Review its features, technical details and handling guidance below to check suitability for your application.
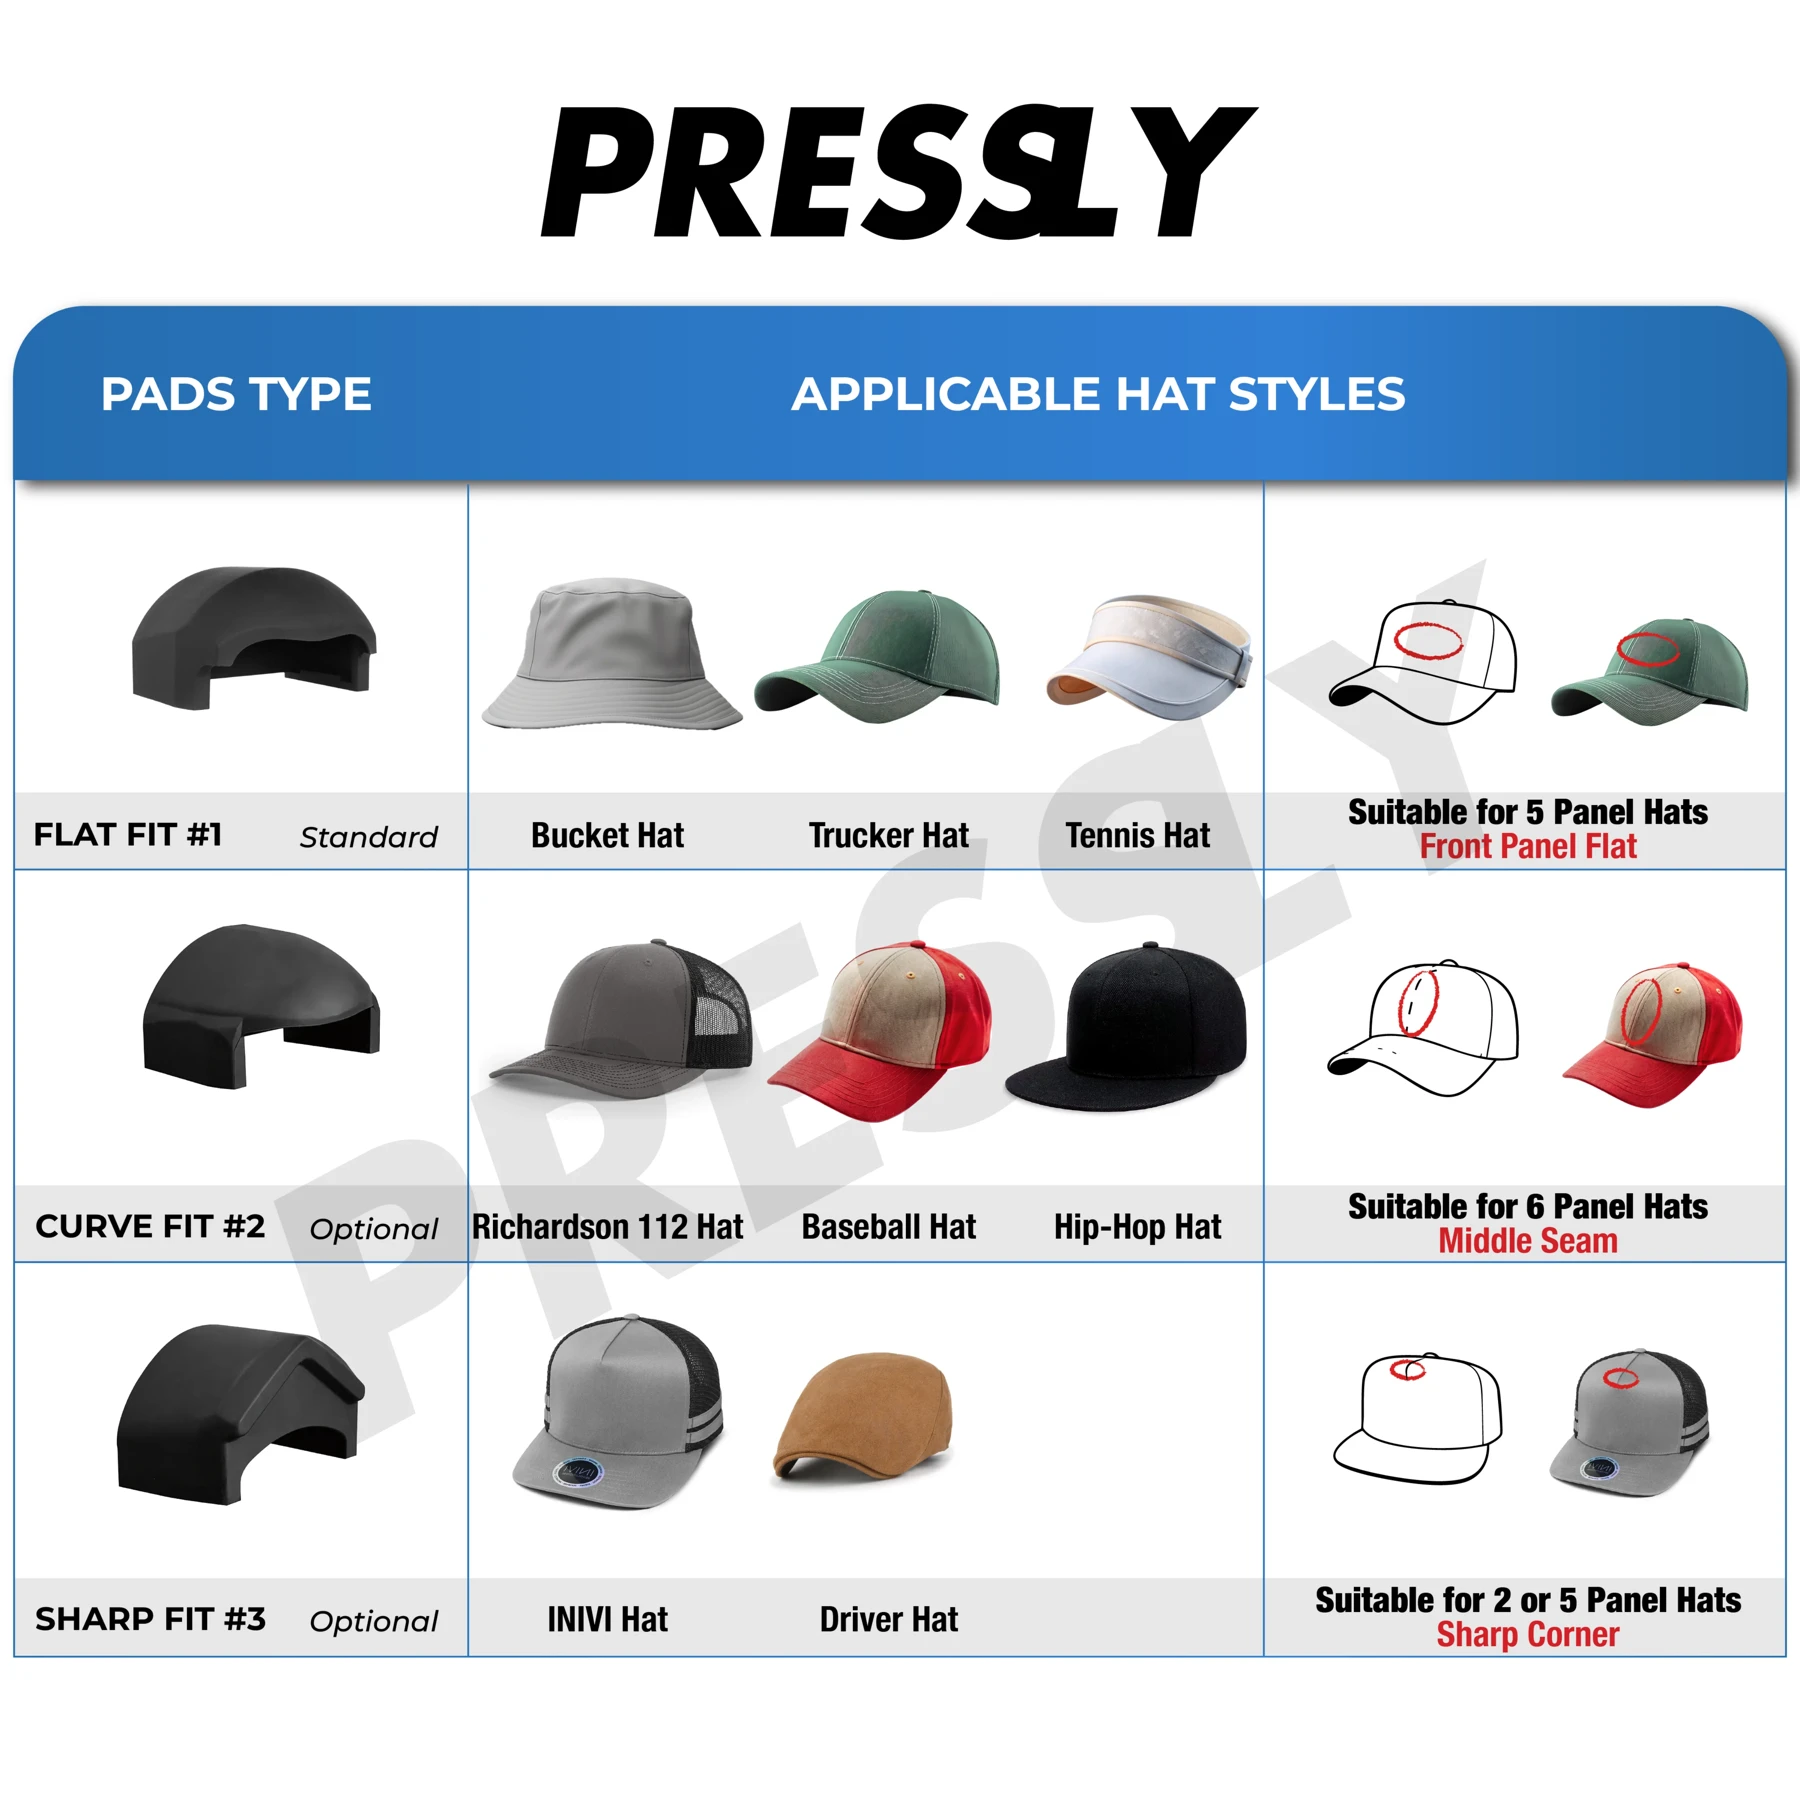
- Headwear comes in countless shapes, from low-profile dad hats to high-crown snapbacks.
- The design provides ample clearance for the brim and back of the hat, preventing accidental crushing.
- The automatic functionality means that even less experienced operators can produce professional results.
- You can also use this machine for smaller items like socks, sleeves, or neck labels.
Specifications
| Product | Cap & Hat Heat Press Machine Automatic Dual-Heat – CapMaster 2815 |
|---|---|
| Brand | PRESSLY |
| SKU | PS-CM2815-BL-1 |
| Model | Pressly CM2815 CapMaster |
| Voltage | 110V/220V |
| Heat Plate Size | 3.7 x 7.1 inches (9.5 x 18 cm) |
| Attachments | Laser alignment |
| Power | 600W |
| Controller | LCD Controller |
| Max. Temperature | 410°F (210°C) |
| Temp. Accuracy | ±4°F (±2°C) |
| Max. Pressing Force | 440lbs (200kg) |
| Working Mechanism | Electric Motor |
| Acceptable Thickness | ≤0.39 inches (1 cm) |
| Stand-By Feature | Max. 120 minutes |
| Product Dimensions (L x W x H) | 22.5 x 12.5 x 17.5 inches |
| Product Weight | 57 lbs (26 kg) |
| Packaging Dimensions (L x W x H) | 25 × 20.5 × 15 inches |
| Package Weight | 61 lbs (28 kg) |
| Certifications | CE, UKCA |
| Note | The lower platen heats up to a range of 270–290°F and functions as a Heat Assist Platen, which supports most applications effectively. For increased heat on the lower platen, perform a press cycle and allow it to absorb additional heat from the upper platen. This method helps boost the lower platen’s temperature when needed for more demanding applications. |
Instructions
- Read the Instruction Guide: Carefully read and understand the comprehensive instruction guide that comes with the machine for detailed setup and safety instructions.
- Set Up the Machine: Place the heat press on a flat, stable surface in a well-ventilated area. Plug the machine into an appropriate power source (110V/220V). Ensure the machine is properly assembled and the platen is securely in place.
- Adjust Temperature and Time: Turn on the heat press and use the LCD controller to set the desired temperature and time settings based on the material and design. Preheat the press for 5-10 minutes.
- Prepare the Cap: Position your cap securely on the one-size-fits-all platen and ensure the design area is smooth and positioned properly.
- Press the Hat: Close the press using the lever to apply pressure. The automatic opening feature will prevent over-application, releasing the press when the set time is up.
- Post-Press Care: After pressing, carefully remove the cap or hat.
- Maintenance: Clean the platen with a damp cloth after each use. Check the press regularly for wear and ensure all parts are secure.
Use these product-specific notes together with the supplied equipment manual and product label. Confirm compatibility and perform a small test before production.
Reviews
There are no reviews yet.